Mount Speakers on The Wall Without Drilling Holes
By Robert Jones · 2021-04-04
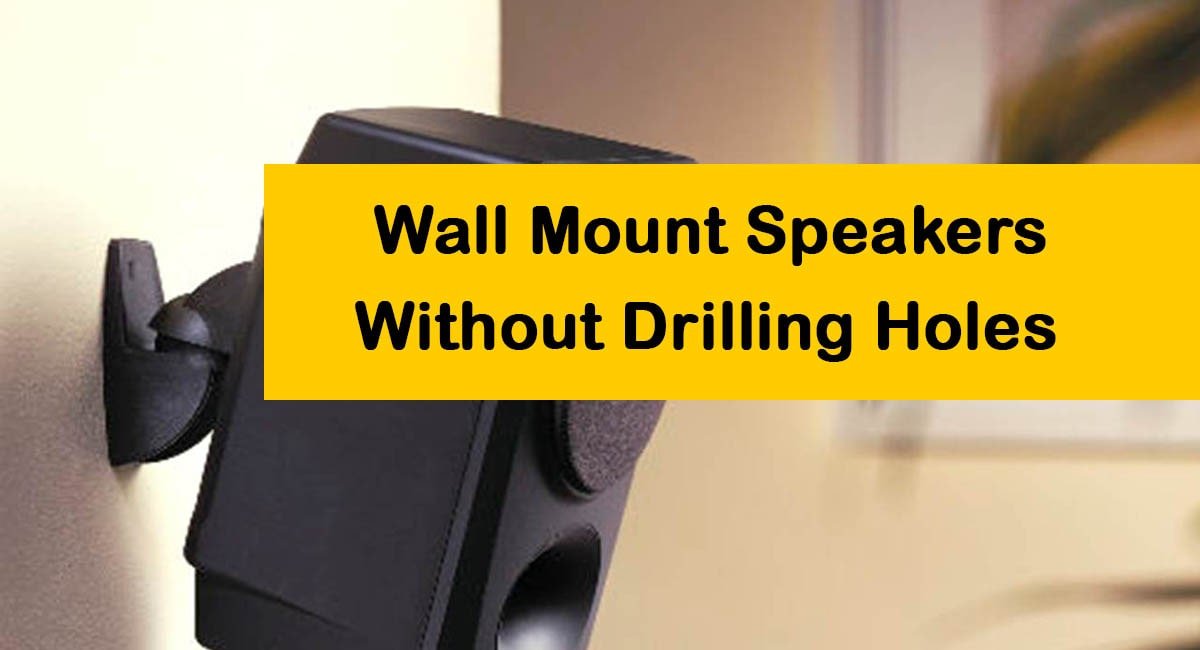
Good lord, I've lost count of the times I've been asked about sticking speakers to walls without drilling. It's a common one, especially for folks in rented places or just those who don't fancy putting holes everywhere.
Good lord, I've lost count of the times I've been asked about sticking speakers to walls without drilling. It's a common one, especially for folks in rented places or just those who don't fancy putting holes everywhere. Now, let's be clear from the off: if you want the absolute best, most secure, and frankly, safest way to mount a speaker, you drill. End of. But, I get it. Sometimes that's just not an option. So, we find workarounds, don't we? And honestly, some of the "workarounds" I've seen over the years have been proper nightmares. Things hanging by a thread, just waiting to crash down and smash into a thousand bits. That's not just your speaker, that's potentially a kid, a pet, or your prized antique lamp. So, whatever you do, safety first. Please. We're talking about valuable kit here, and potentially, people's heads. **Quick Verdict:** *For truly light speakers, adhesive strips can work, but for anything bigger, speaker stands are the safest bet without drilling.* Now, for those smaller, lighter speakers – think satellite speakers for a surround sound setup, or perhaps some dinky bookshelf speakers under a kilo or two – there are a few options that actually work. Big, heavy floorstanders? Forget about it. You're asking for trouble, and a very expensive repair bill. Anything over 3-4kg is pushing it for these non-drill methods, and frankly, anything over 1kg makes me nervous unless it's absolutely nailed down (metaphorically, of course!).  *Mount Speakers on The Wall Without Drilling Holes — tested in the SpeakersMag workshop.* ## Adhesive Mounts and Strips: The Sticky Solution Right, let's start with the sticky stuff. Command strips, as they're often called, or similar brands like Gorilla mounting tape. These are brilliant for light duty. I've used them in my own workshop for a pair of miniature monitors – some old Tannoy Reveal 501As – that I use just for checking vocal clarity on a shelf. They haven't budged in months. Not on the wall, mind, but holding something securely. The principle is the same. But, and it's a big "but", you've got to be sensible about weight. Each strip or hook will have a weight limit. Read it. Understand it. Don't push it. If the speaker is heavier than recommended, use more strips. Common sense, really. Don't try to stick a 5kg bookshelf speaker with strips rated for 500g each, even if you use ten of them. The sheer torque and leverage will probably see it plummeting. Preparation is absolutely key here. This isn't a slap-dash job. Clean the wall surface, clean the speaker surface. Really clean it. I mean, proper degreasing. Any dust, grease, or grime, and that adhesive isn't going to bond properly. Then, when you apply them, press firmly. Give it a good 30 seconds or so. And, if you're using the hook varieties, let them "cure" for an hour or even a day before hanging anything. It makes a significant difference to the bond strength. Don't rush it. ### My Take on Adhesive I've seen these fail, usually because someone's been a bit lazy with the cleaning or they've ignored the weight limits. Think about a small satellite speaker, say a Cambridge Audio Minx MIN12. That's only about 430g. Two decent Command strips, rated for 1.3kg each, would easily handle that, even with a good margin. But if you've got textured wallpaper, or newly painted walls that haven't fully cured (give new paint a few weeks, honestly), then you're asking for trouble. It'll just peel the paint or wallpaper off. **Pros:** * No drilling, obviously. * Removable without damage (usually, if done carefully). * Great for very light speakers (under 1kg, ideally). * Inexpensive. **Cons:** * Strict weight limits – absolutely critical. * Not suitable for textured walls, wallpaper, or freshly painted surfaces. * Adhesive can fail if not applied correctly or if the environment changes (e.g., high humidity, drastic temperature shifts). * Not suitable for larger bookshelf speakers or anything with significant depth, as the leverage could pull them away. * Can leave residue or even pull paint/plaster if removed incorrectly or after a long time. ## Speaker Stands (Floor or Desk): The Sensible Alternative Alright, this isn't "wall mounting" in the strictest sense, but it's a fantastic alternative that avoids drilling completely and gives you far more flexibility. Why put speakers on the wall if you can put them on stands? You get much better positioning too, which is crucial for good sound. For surround sound, a good quality set of rear speaker stands can make all the difference. You can angle them just right, get the height perfect. I've got a set of pretty basic, spiked stands for my rear surrounds in the home cinema – some old Atacama Nexus 5s. Not expensive, maybe £80-£100 for a pair back in the day, but they do the job beautifully. The spikes decouple the speaker from the floor, which can tighten up the bass response a bit and stop vibrations travelling through the floorboards. It's a subtle but noticeable improvement. For desk speakers, small isolation pads or stands are a must. Something like IsoAcoustics ISO-L8R155s, or even just some foam wedges. It gets them off the desk surface, reducing vibrations travelling into your desk and improving clarity by bringing the tweeters closer to ear level. It's not quite as pretty as a flush wall mount, but it's often better for the sound, and you can move them about until they're just right. ### Different Types of Stands * **Floor Stands:** These are usually metal or wood, often hollow so you can fill them with sand or lead shot to add mass and stability. Crucial for stability and isolating the speaker from floor vibrations. Prices vary massively, from £50 a pair for basic ones to hundreds for high-end, acoustically optimised designs. For example, some simple Q Acoustics 3000 series stands go for about £70-£100, while something from Custom Design will run you £200+. Look for adjustable height if you need flexibility. * **Desk Stands/Isolation Pads:** These are smaller, designed to sit on a desk or shelf. They elevate the speaker and often provide some degree of isolation from the surface below. Foam, rubber, or more elaborate spring/elastomer designs. Budget foam pads are £15-£25 a pair, while IsoAcoustics can be £100+. **Pros:** * No drilling, obviously. * Excellent for speaker positioning and fine-tuning the soundstage. * Can improve sound quality by isolating speakers from surfaces. * Handles a much wider range of speaker sizes and weights. * Portable – easy to move your setup if you rearrange the room. **Cons:** * Takes up floor or desk space. * Can be a trip hazard if cables aren't managed. * More expensive than adhesive strips. * Not as discreet as a flush wall mount. ## Tension Rods and Spring-Loaded Poles: For the Creative Thinker This is where things get a bit more unconventional, but sometimes, needs must! If you've got a spot between two walls, or between a floor and a ceiling, a tension rod (like a shower curtain rod, but sturdier) can be an option. You can attach a small shelf or platform to it, or even directly mount a very light speaker using clamps. It's not something I'd recommend for anything substantial, and it definitely needs careful thought. I once helped a mate set up a tiny pair of surround speakers in his rented flat using some heavy-duty spring-loaded poles that went floor-to-ceiling. We bolted a small, thin wooden shelf to the pole using U-bolts, and then sat the speaker on that. It was surprisingly stable for speakers weighing about 1.5kg each, but it looked a bit industrial. You have to make sure the ceiling and floor surfaces can take the pressure without marking or denting, especially if it's plasterboard. And check it regularly – tension can ease over time. **Pros:** * No drilling into walls. * Can be quite versatile for unusual spaces. * Good for very light satellite speakers. **Cons:** * Limited to specific room layouts. * Can look a bit clunky or temporary. * Risk of marking ceiling/floor if not careful. * Not suitable for anything but the lightest speakers. * Requires regular checking for tension. ## Bookcases and Shelving Units: The Obvious (But Often Overlooked) Solution Honestly, sometimes the simplest solution is staring you right in the face. If you've got a decent, sturdy bookcase or shelving unit, why not use that? It's not "wall mounting" but it achieves a similar elevation without a single drill bit getting involved. This is brilliant for bookshelf speakers, obviously. Just make sure the shelf itself is robust enough to hold the weight, and that the unit isn't wobbly. I've always used existing furniture in my setups where possible. My main listening room has a pair of speakers on some chunky oak speaker stands, but in the office, my older Mission 780s sit comfortably on a solid, well-built IKEA Kallax unit. It works a treat. The unit itself is full of records, which adds mass and stability. You can even place isolation pads under the speakers on the shelf to improve the sound, just like with desk stands. **Pros:** * No drilling required. * Utilises existing furniture. * Can handle a good range of speaker sizes and weights (if the furniture is sturdy). * Offers some flexibility in positioning. **Cons:** * Dependent on having suitable furniture. * Aesthetics might not be what you're after. * Can limit precise speaker placement compared to dedicated stands. * Vibrations can still transmit through the furniture if not isolated. ## Cable Management: Don't Forget the Wires! No matter how you mount your speakers without drilling, you'll still have speaker cables. And they can look a right mess if you don't sort them out. For temporary setups, some simple cable clips with adhesive backing (again, Command brand does some good ones) can keep things tidy along skirting boards or discrete corners. Don't underestimate how much tidier a room looks with neatly routed cables. It makes a huge difference to the perceived neatness, even if you've got a speaker perched on a tension rod! For more permanent (but still drill-free) solutions, flat adhesive cable trunking can be used. It's basically a plastic channel that sticks to the wall and you run your cables inside. It can be painted to match your wall colour, making it practically invisible. B&Q or Screwfix will have plenty of options for a few quid. It's not quite as good as running cables *in* the wall, but it's the next best thing without making holes. ## Comparison Table: Non-Drill Mounting Options | Method | Ideal Speaker Weight | Placement Flexibility | Aesthetics | Cost (£) | Best For | | :------------------- | :------------------------- | :---------------------- | :---------------------- | :-------- | :------------------------------------------- | | **Adhesive Strips** | Very Light (under 1kg) | Low | High (if discrete) | 5-20 | Small satellites, very light rear surrounds | | **Floor Stands** | Light-Medium (1-15kg) | High | Medium-High | 50-300+ | Bookshelf speakers, surrounds | | **Desk Stands/Pads** | Light-Medium (1-10kg) | Medium | Medium-High | 15-100+ | Desktop monitors, small bookshelf speakers | | **Tension Rods** | Very Light (under 1.5kg) | Low-Medium | Low-Medium (industrial) | 20-50 | Specific room layouts, temporary surrounds | | **Bookcases/Shelves**| Light-Heavy (if sturdy) | Low-Medium | Medium | Varies | Bookshelf speakers in living/office areas | ## Who It's For * **Renters:** If your landlord has a strict "no holes" policy, these methods are your lifesaver. * **Anyone nervous about drilling:** You just don't fancy tackling the plasterboard or worrying about hitting pipes/wires. * **Temporary setups:** For a party, a seasonal display, or just trying out new speaker positions before committing. * **Small, light speakers:** Ideal for satellites or dinky desktop monitors where dedicated stands are overkill or impractical. ## Who Should Skip It * **Anyone with heavy speakers:** If your speakers weigh more than a few kilos, don't risk it. Stands are the only safe option here. * **Perfectionists demanding ultimate stability:** A drilled, proper wall mount will always offer the best security and rigidity. * **Those with textured or delicate walls:** Adhesive methods can cause damage. * **Anyone who values the absolute best possible sound quality from their wall-mounted speakers:** While stands can improve sound, none of these methods beat a well-installed, vibration-damped wall bracket for proper speaker isolation and rigidity where wall-mounting is desired. ## FAQ: Your Burning Questions Answered ### Q: Can I use double-sided tape for heavy speakers? Honestly, absolutely not. Double-sided tape, even the "heavy-duty" stuff, isn't designed for the sheer weight and leverage of most speakers. You're asking for a speaker to come crashing down. Stick to specific mounting strips that clearly state weight limits, and even then, only for very light speakers. ### Q: What if my wall isn't completely flat? If your wall has significant texture, like woodchip wallpaper or uneven plaster, adhesive strips are a no-go. They won't get a proper bond and will likely fail. Your best bet in this scenario is either floor/desk stands or using a sturdy piece of furniture. If you *must* get something on the wall, perhaps consider drilling into a stud behind the texture for a traditional bracket, but that goes against the "no drilling" rule. ### Q: Will adhesive strips damage paint when removed? They *can*, especially if the paint is old, flaky, or was poorly applied in the first place. Always follow the removal instructions carefully – usually, it involves pulling the tab *downwards* slowly, parallel to the wall, to stretch the adhesive. Don't pull it outwards. If in doubt, test a small, inconspicuous area first. Freshly painted walls are particularly vulnerable. ### Q: How can I hide speaker cables without drilling? Plenty of options here. Adhesive cable clips are great for neat runs along skirting boards. For a more invisible look, paintable adhesive cable trunking (available from any DIY shop) is excellent. You can run your cables inside, stick it to the wall, and paint it to match. It's discrete and effective. ### Q: Are speaker stands better for sound than wall mounts? It depends. A well-designed, rigid speaker stand, especially one that allows for precise height and toe-in adjustment, can absolutely sound fantastic, often better than a poorly placed wall mount. They isolate the speaker from room vibrations. However, a *properly installed*, high-quality wall bracket can also be excellent, providing extreme rigidity. It really comes down to the quality of the stand/mount and the care taken in setup and positioning. ## Final Word Look, I get it. Drilling holes isn't always an option, or even something you fancy doing. But please, please, think about safety first. A speaker falling off the wall isn't just a broken piece of kit; it could seriously hurt someone. For anything beyond the smallest, lightest satellite speakers, my honest advice is to invest in some decent speaker stands. They offer far more flexibility, better sound potential, and crucially, peace of mind. For those tiny bits of kit, adhesive strips can work, but take your time, clean thoroughly, and respect those weight limits. Don't push your luck. Your speakers, and your head, will thank you for it. This isn't about compromise; it's about making the best of your situation. And sometimes, the best solution doesn't involve a drill at all. Happy listening, whatever you decide to go for.